
Photography, technology, marketing, and life
My Lightroom-Synology-Backblaze Photography Workflow
Back in 2005 or so, I was doing a lot of photography at the company I worked for. Events, locations, products–you name it, i shot it. I stored all those photos on an external USB drive plugged into a Linux server I hacked together. I was relatively new to Linux, and learned most things by Googling. One day, I didn’t Google enough about symlinks and ended up deleting a few years worth of photos. If you’ve ever lost data–especially photos–you know that feeling when your gut sinks and you start scrambling to see if you’d stored those files anywhere else. I hadn’t. So, head hung in shame, I had to tell my boss that the photos were gone.

Fast forward to this week–the guy who was my boss back then called to tell me that he had inadvertently wiped his entire laptop with a few erroneous clicks in Apple’s Find My app. Side note–the Erase Device function in the Find My app works really well. He didn’t have backups, either.
When I first started maintaining backups, they were on external USB drives (Western Digital MyBooks.) That was better than nothing, but didn’t have any redundancy, and wouldn’t have protected my photos if the house burned down. It made me nervous, but it was the only solution I could afford, (which is crazy–I was spending thousands on cameras and lenses, but didn’t think I could afford to actually protect the irreplaceable photos themselves.)
Synology
Several years ago I started looking at NAS drives. Every brand seems to have pros and cons, good reviews and bad reviews–I didn’t know which one to pick. I went back and forth for a few years, and finally settled on Synology. I don’t remember now exactly why I went with Synology, but I don’t have any regrets.
This seems to be turning into a post about backups. That’s okay–the internet needs to be flooded with posts about how important backups are.
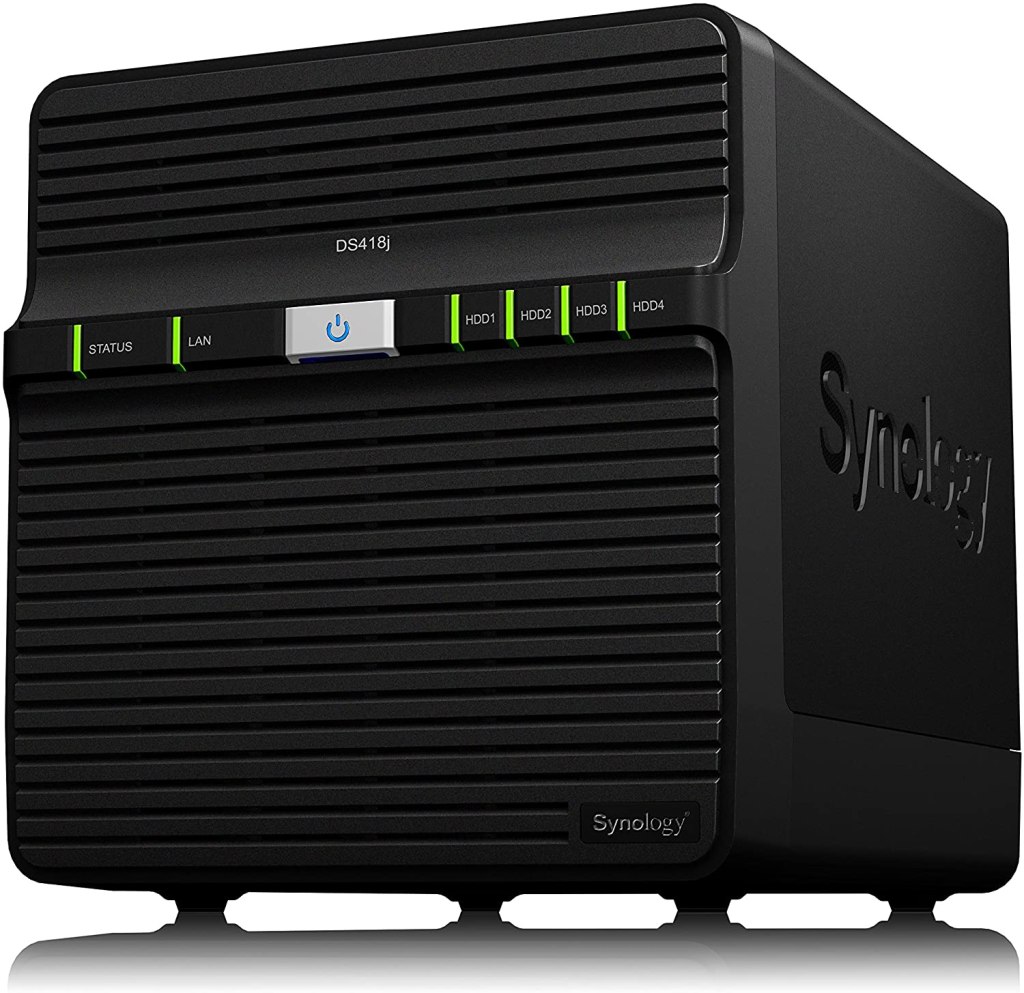
Where were we–right, Synology. I knew I didn’t need a super fast drive; the primary purpose of purchasing a NAS was to archive my photo collection. I didn’t need to run virtual machines, or stream video, or any of the things that require faster processors and copious amounts of RAM. The DS418j fit the bill perfectly–and didn’t hurt the wallet as much as some of the other options ($299 on Amazon.) It has a 1.4GHz Realtek processor, and 1GB of RAM. The model I got seems to be discontinued at this point, but it’s still humming along perfectly. I tried not to cheap out on the hard drives. I’ve always bought Western Digital drives, but the Seagate Iron Wolf drives seemed to get slightly better reviews. I went with four 4TB Iron Wolf drives ($464.) That gave me 12TB of usable storage (4TB is reserved for parity in the RAID array.) RAID configurations are beyond the scope of this post, but worth looking into. Basically, if one drive fails, i should be able to replace it and let the array rebuild itself. I’m not an expert in RAID, though, so do your research. I went with RAID 5, which seemed to provide the best protection vs. speed ratio. Just make sure you have a spare drive handy. If two drives fail at the same time, you will lose data.
As an added bit of security, I plugged in one of those old external Western Digital USB drives to the Synology, and it backs up all my photos daily. So I have three copies of every photo once it gets moved to the NAS.

Synology has developed a web-based GUI that lets you easily manage your disk. Most manufacturers have something similar, but I really like the Synology software. I liked it so much I ended up buying a Synology router because it has a similar interface–again, info for another post.
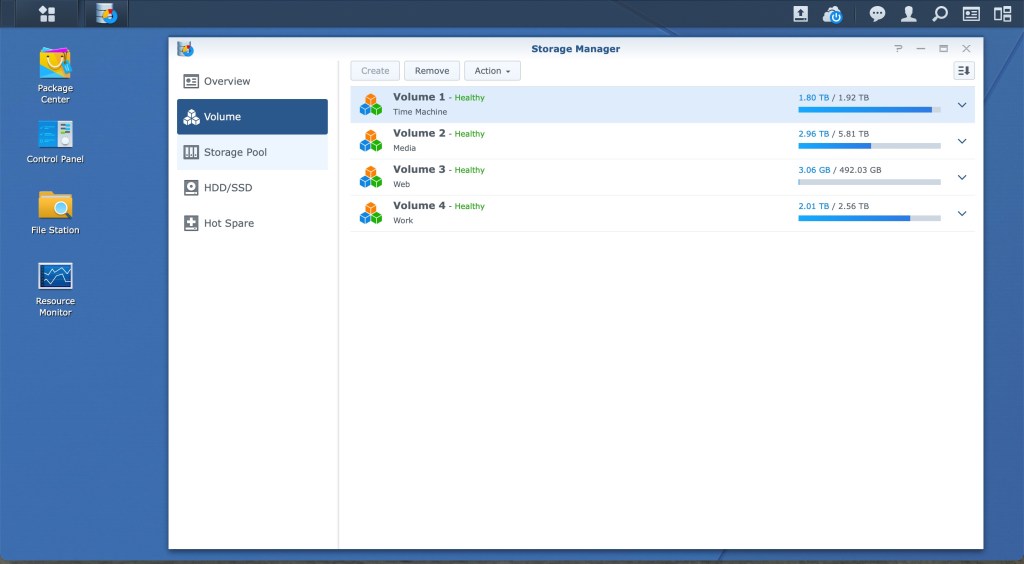
Setting up your disk requires proper prior planning. Seriously–think about how you want to partition (or not) all that space. There is no easy way to change the size of your volumes later. I wish there was, because I didn’t choose as wisely as I’d hoped. I allocated half of the 12TB to photos and home videos, and split the rest up for TimeMachine backups, archives of other files, and web development.
Lightroom
I keep my Lightroom catalog, and the current month’s photos on an external Samsung SSD drive. 99% of the time, this drive is plugged into my 15″ MacBook Pro, but if I need to go somewhere, I can grab the drive and work with photos on the smaller MacBook Air (it fits in my camera bag–the 15″ doesn’t.)
Photos from the A7R3 are imported directly into Lightroom Classic. Photos from my iPhone are synced through the Lightroom Mobile app. Everything ends up in one Lightroom catalog in a YYYY/MM/DD folder hierarchy. I played with different options with multiple Lightroom catalogs, but since you can only sync one catalog to Adobe Cloud, I ended up sticking with just one. I also experimented with keeping mobile photos out of the catalog, but decided I liked having them all together. Do what works for you.
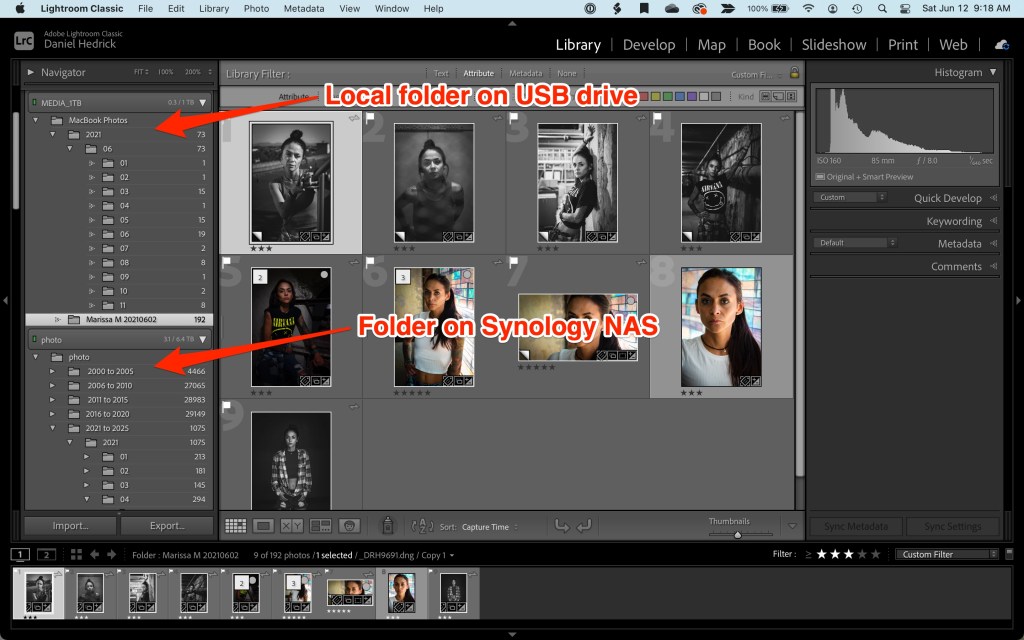
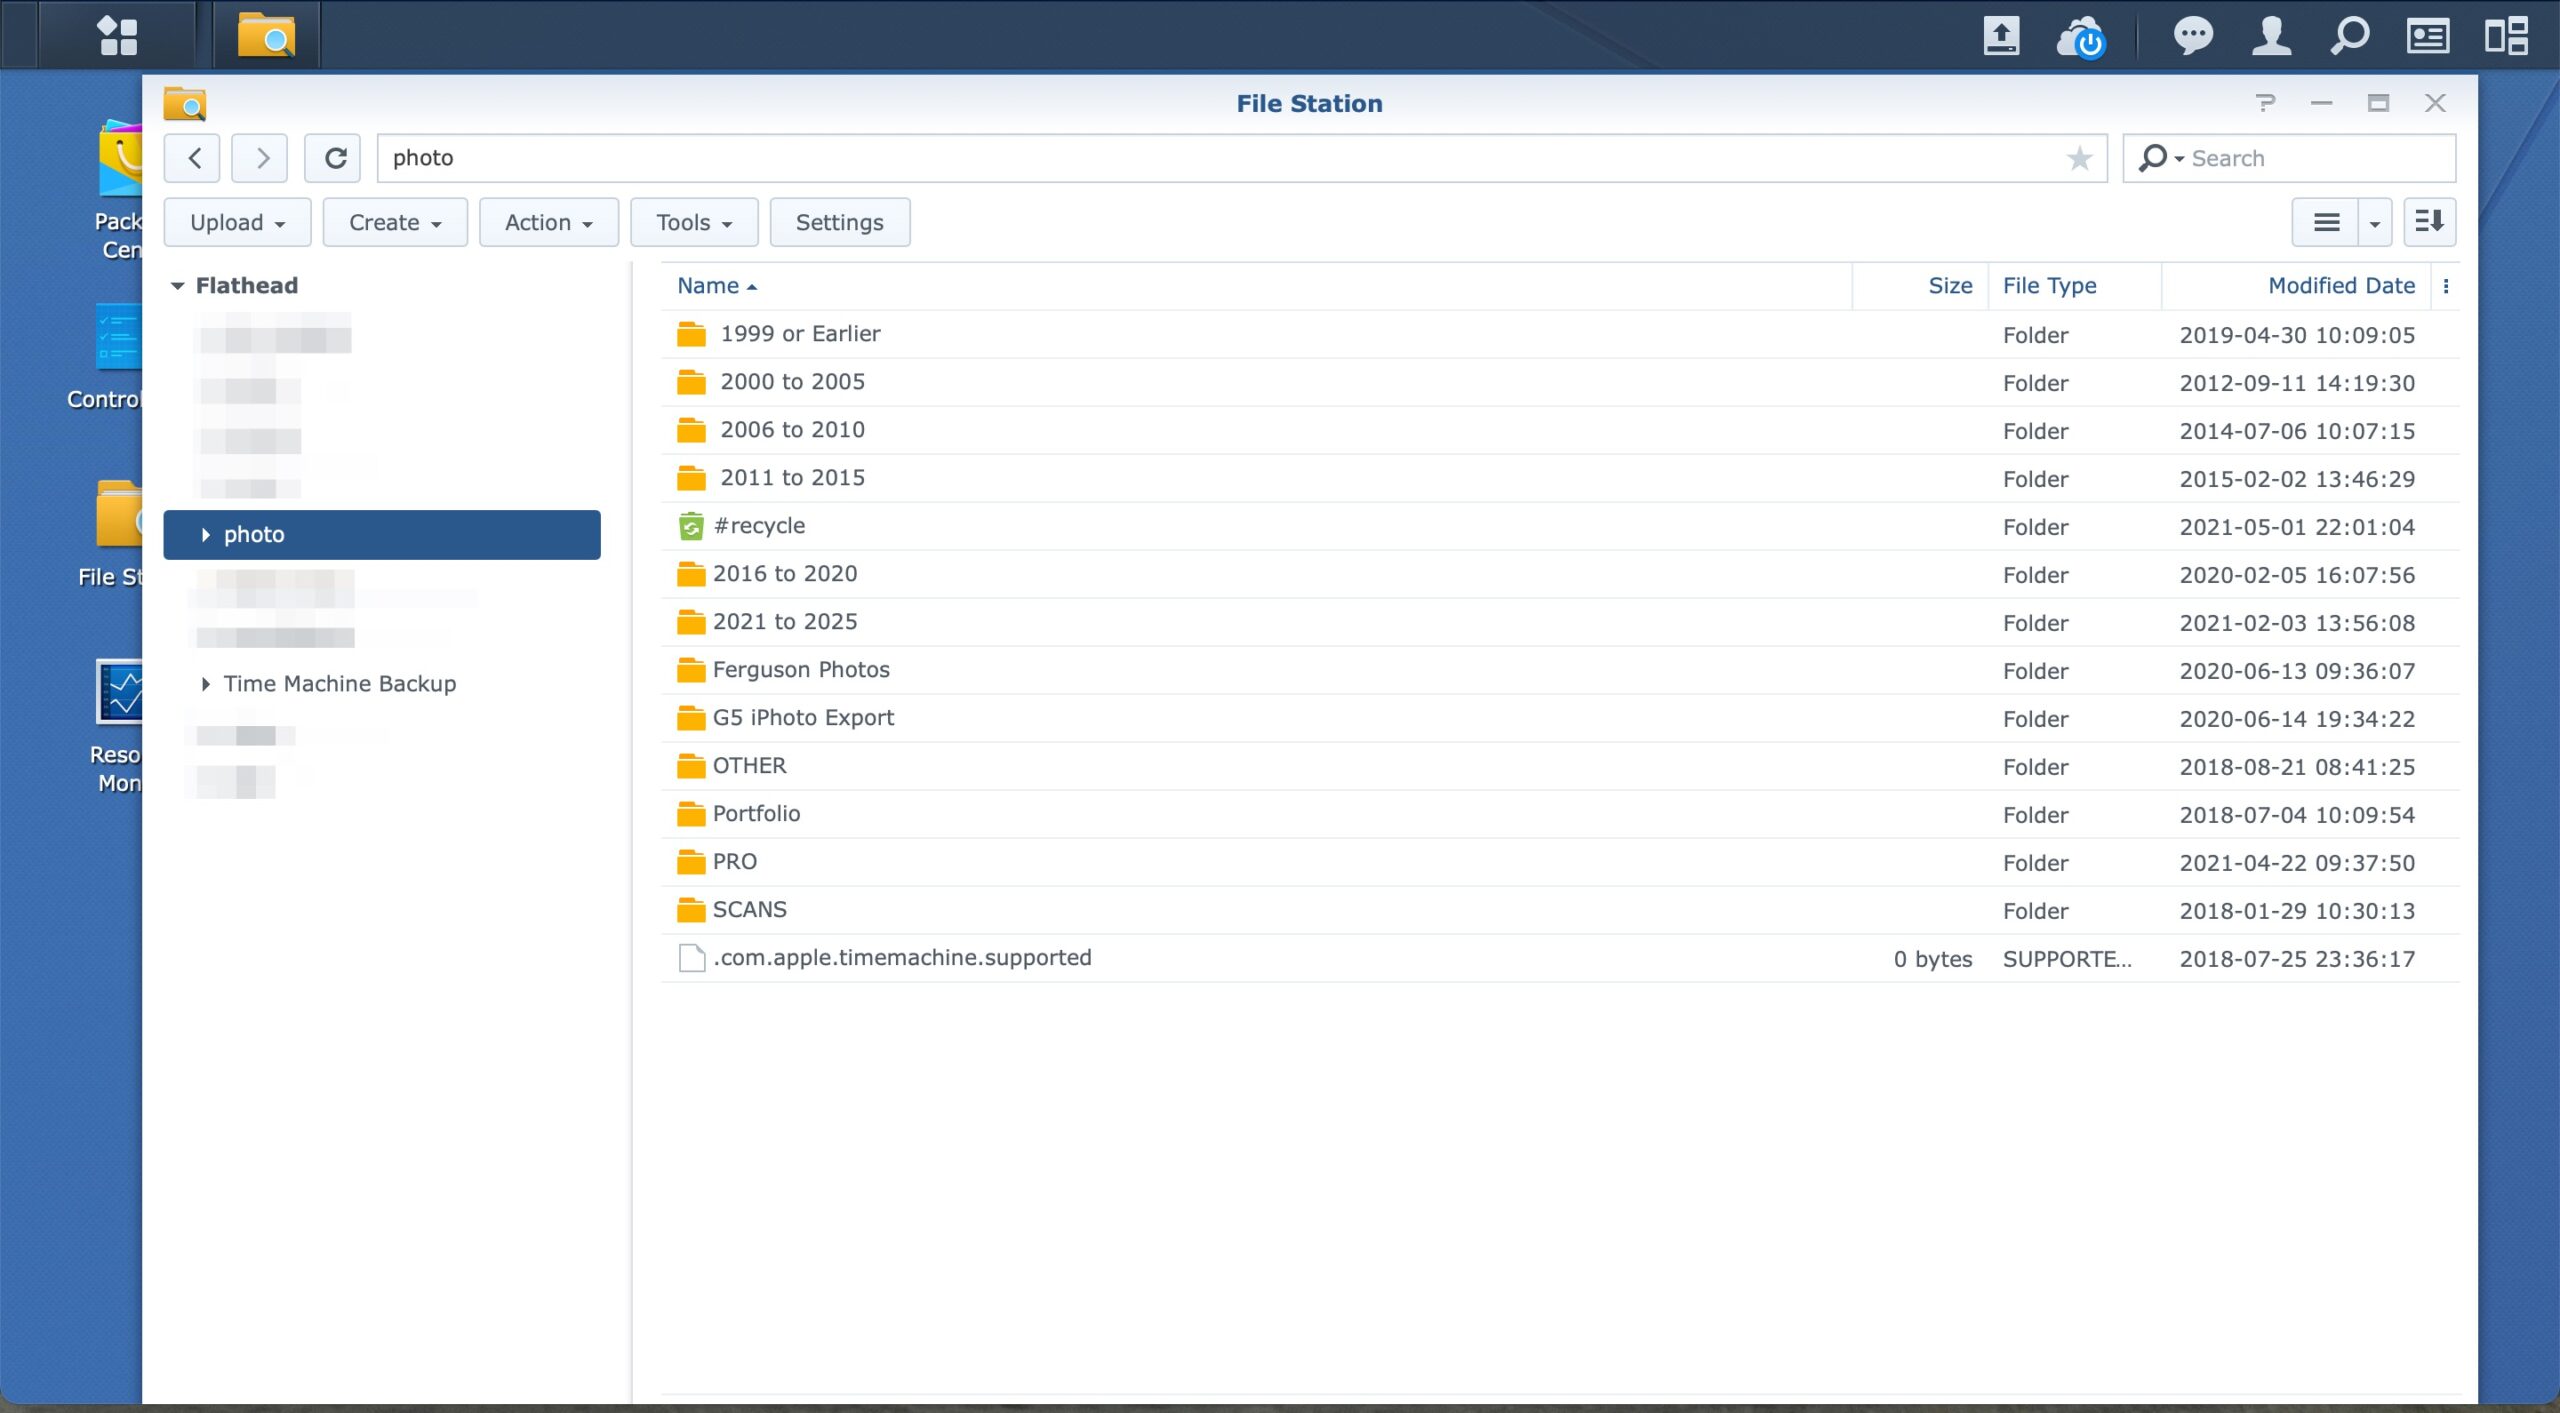
I added the photo directory on the Synology drive to Lightroom, so every single photo I have is cataloged in Lightroom. All 128,016 of ’em. With both the local photo directory, and the NAS directory referenced in Lightroom, I can drag and drop folders between the two drives without confusing Lightroom.
Like I mentioned above, the current month’s photos are kept on the external USB drive. If I have a commercial shoot, TFP model shoot, or something else I can’t afford to lose, those images get backed up to another USB drive for a bit. At the beginning of the month, I drag the previous month’s folder to the NAS. It takes a little time over the network, but it really isn’t bad. If it’s a commercial or model shoot, I move those over to the NAS when I’m done editing and the photos have been delivered.
I use a lot of collections to aggregate photos from different folders into groups. Some of those collections are synced to Adobe Cloud so I can access them on my phone or iPad. I use Lightroom on the web to create proofing albums for clients and models.
Backblaze
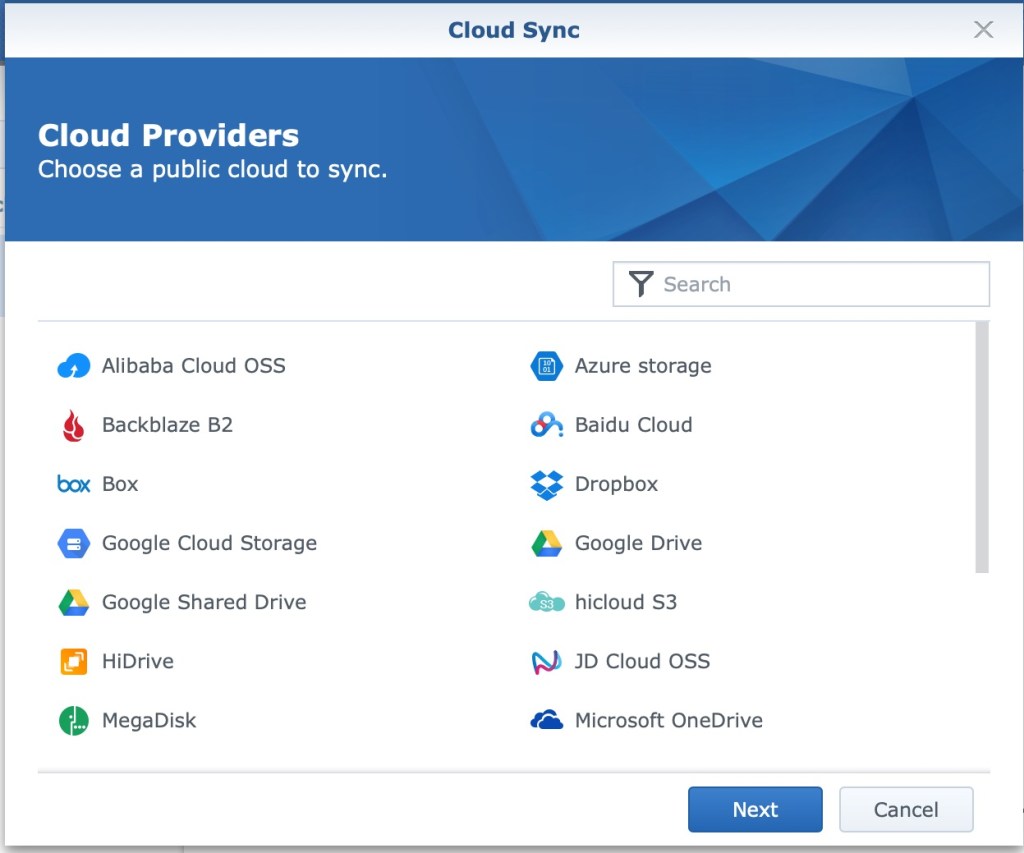
I mentioned the cool web-based UI that the Synology drive has. It enables you to install different apps based on your needs. One of those apps is Cloud Sync. It lets you backup data from your NAS to different cloud platforms. I chose Backblaze based on reviews and price, but there are quite a few options to choose from. Right now, I have 2.1TB stored in Backblaze, and my last monthly payment was $11.03.

The Synology drive is scheduled to back up my photos directory every night between midnight and 6am. Since I’m only moving photos over once a month, it’s really only running the backup task for a few nights at the beginning of each month. If my house burns down, I can retrieve all of my photos from Backblaze by either downloading them or ordering a USB drive shipped with my data.
And that’s it. I haven’t lost a photo in 10+ years. I can specifically remember the last set of photos I lost–it was from a shoot with a friend. I uploaded the PG versions to Flickr, so at least I had JPGs, but the slightly more PG-13 images were lost when I was re-evaluating the old Apple Aperture app and going back and forth.
Lessons learned.
What about you? How do you ensure you never lose a photo?

Thank you for your article it is very interesting. This is the workflow I’m considering as well. So I take it the NAS is a tad slow for editing current works? Are you using smart previews?
Hi Greg, I do use smart previews. Occasionally I go back and edit images that are stored on the NAS, and it works just fine. I keep the current month on the laptop so I can edit when I’m not at home.